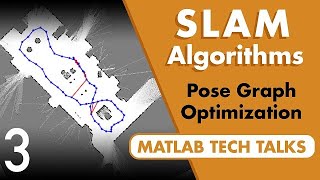
What This Covers: Watch the first video in this series here: This video presents a high-level
Understanding Slam Using Pose Graph Optimization Autonomous Navigation Part 3 - Overview Decision Guide
This reader-first page connects Understanding Slam Using Pose Graph Optimization Autonomous Navigation Part 3 through background context, nearby references, comparison cues, and reader questions to support more niches without sounding like one fixed template.
In addition, this page also connects Understanding Slam Using Pose Graph Optimization Autonomous Navigation Part 3 with for broader topic coverage.
Overview Decision Guide
Understanding Slam Using Pose Graph Optimization Autonomous Navigation Part 3 can be reviewed through a clear overview first, then compared with related entries and supporting context.
How It Is Used
The surrounding context helps explain why people search for Understanding Slam Using Pose Graph Optimization Autonomous Navigation Part 3 and what they usually want to check next.
Important Details
This section highlights the practical pieces readers may want before opening a more specific related page.
General Smart Checks
Before relying on any single result, compare related pages and verify important facts from stronger sources.
Main details to review
- Watch the first video in this series here: This video presents a high-level
How readers can use this page
This page works best as clear context before opening more detailed pages.
Reader Questions
How can related pages improve understanding of Understanding Slam Using Pose Graph Optimization Autonomous Navigation Part 3?
Related pages add context, alternative wording, practical examples, and follow-up paths for deeper research.
How can readers make Understanding Slam Using Pose Graph Optimization Autonomous Navigation Part 3 more specific?
Different pages may focus on different locations, dates, providers, versions, definitions, or user needs.
Why do people search for Understanding Slam Using Pose Graph Optimization Autonomous Navigation Part 3?
People often search for Understanding Slam Using Pose Graph Optimization Autonomous Navigation Part 3 to understand the basics, compare related options, or find a clearer path to more specific information.